
Precision Maid cleaning notes
How to clean seven tough areas without damaging your home
October 3, 2026 · 8 minute read
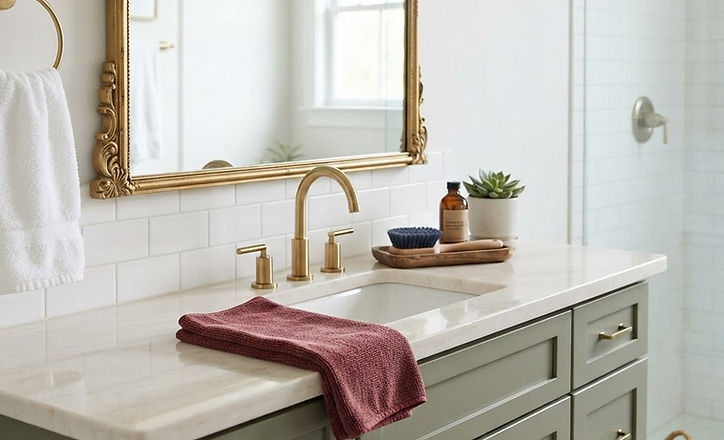
A tough area usually becomes easier when you separate the problem into three parts: what the soil is, what the surface is made of, and how much moisture that surface can tolerate. The methods below use that approach so you can clean carefully instead of simply scrubbing harder.
1. Greasy kitchen cabinets and backsplash edges
Grease collects near handles, above the range, and along cabinet edges. Begin with a microfiber cloth dampened with warm water and a small amount of mild dish soap. Wipe a small test area, then work from the least greasy section toward the heaviest buildup. Follow with a separate damp cloth and dry the surface promptly.
Avoid soaking cabinet seams or using abrasive pads on painted, laminated, or glossy finishes. Natural stone backsplashes may require a stone-safe cleaner rather than an acidic or all-purpose product.
2. Soap residue on shower glass and fixtures
First rinse loose soil away with warm water. Apply a cleaner labeled for the glass and fixture finish, allow the label’s recommended dwell time, then agitate gently with a non-scratch sponge. Rinse completely and dry with a clean microfiber cloth or squeegee to reduce water spots.
Do not use acidic products on natural stone, and do not leave strong cleaners sitting on plated fixtures. If scale is thick, repeat a mild process rather than jumping immediately to a harsh abrasive.
3. Grout lines around tubs and tile
Vacuum or wipe away loose hair and dust first. Use a grout-compatible cleaner and a small nylon brush, working in short sections. Keep the area wet only as long as needed, rinse away residue, and dry the room with ventilation.
Dark spotting that returns quickly, soft caulk, crumbling grout, or moisture behind the surface can indicate a repair or moisture problem. Cleaning alone will not correct a failed seal.
4. Dusty baseboards, doors, and trim
Dry removal comes first. Vacuum with a soft brush attachment or use a dry microfiber duster so dust does not turn into streaky mud. Then wipe with a barely damp cloth and a mild solution suited to the paint or finish. Dry the trim as you go.
Pay attention to corners, the tops of door frames, and the narrow ledge above baseboards. These areas often create the visible dusty line that makes an otherwise clean room feel unfinished.
5. Oven and refrigerator interiors
Turn the appliance off, let it cool, and follow its care manual. Remove loose crumbs and detachable parts before applying a compatible cleaner. For refrigerators, work one shelf at a time so food stays cold; wash removable bins only after they reach room temperature to reduce the chance of cracking.
Oven coatings, self-cleaning surfaces, heating elements, seals, and electronic panels need special care. Never assume a general degreaser is safe for every interior surface.
6. Pet hair on upholstery and along floor edges
Vacuum slowly in overlapping passes with an upholstery or crevice attachment. On compatible fabric, a slightly damp rubber glove or approved upholstery tool can gather remaining hair. Finish by vacuuming the floor edge, under furniture, and around vents where fur drifts and settles.
Check the furniture-care code before adding moisture or a spot cleaner. Delicate fibers, leather, and specialty textiles may need a manufacturer-approved method.
7. Ceiling fans, high ledges, and reachable interior windows
Turn fans off and place a washable cloth below the work area. Use an extendable duster or a stable household step stool only when the area can be reached safely. Clean high dust before lower surfaces and floors so fallen particles are collected at the end.
For reachable interior windows, remove dry dust from frames and tracks, then use a glass-safe cleaner sparingly. Avoid leaning over stairwells, climbing on furniture, or attempting exterior panes from inside.
Know when to stop
Biohazards, hazardous materials, active pest infestations, extensive mold-like growth, unstable ladders, broken glass, and heavy abandoned debris require the right specialist or safety equipment. Protecting people and the property matters more than forcing a cleaning method.
A simple order that saves time
Gather supplies first, remove dry soil, apply the mildest compatible product, allow appropriate dwell time, agitate gently, rinse or wipe away residue, and dry the surface. Finish from high areas to low areas and from cleaner zones toward dirtier ones.
If several rooms need this level of detail, a professional deep cleaning can help reset the home before recurring service begins.